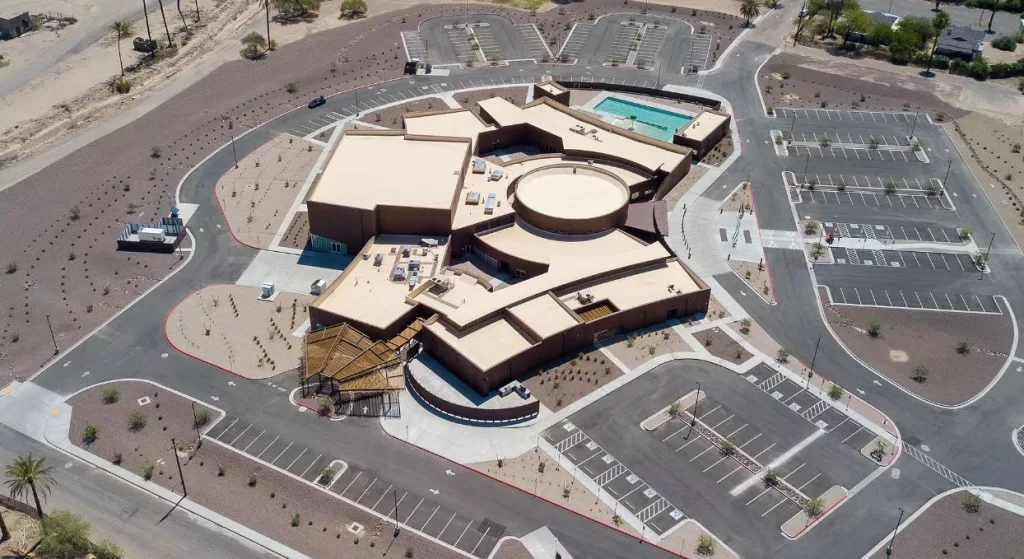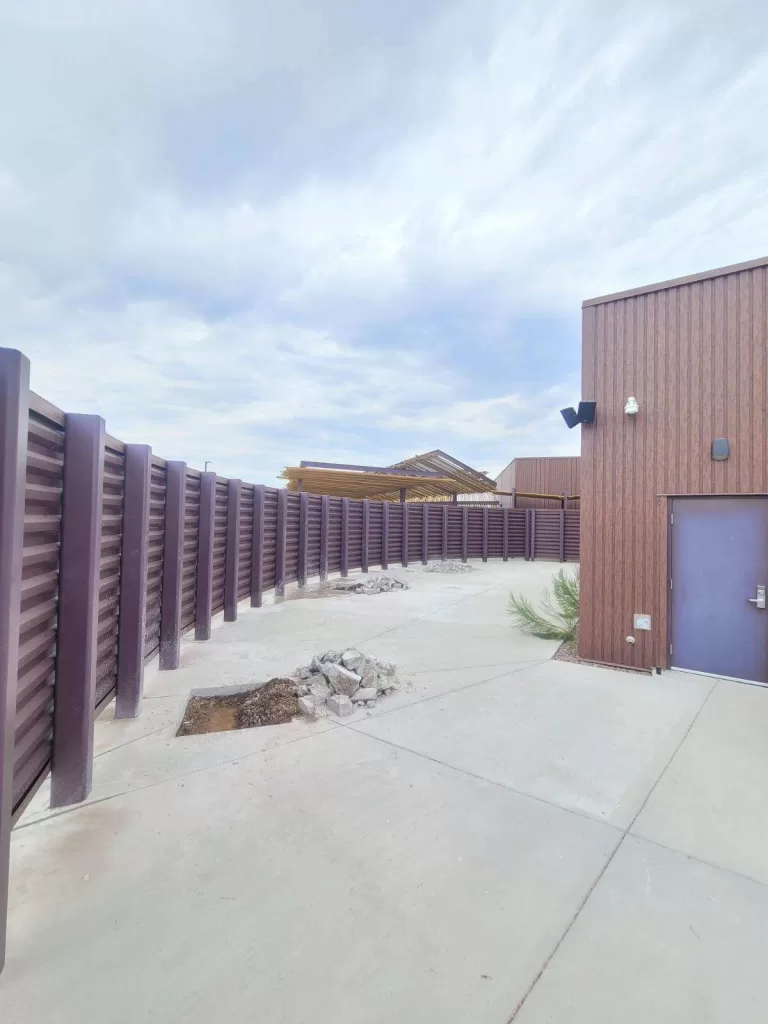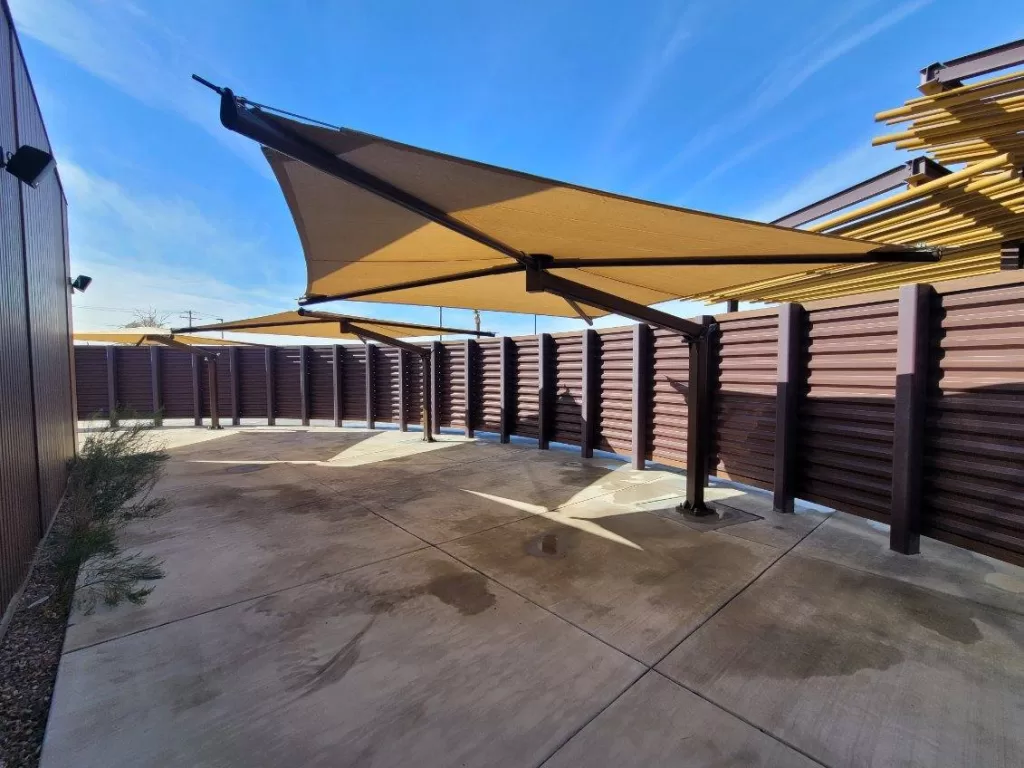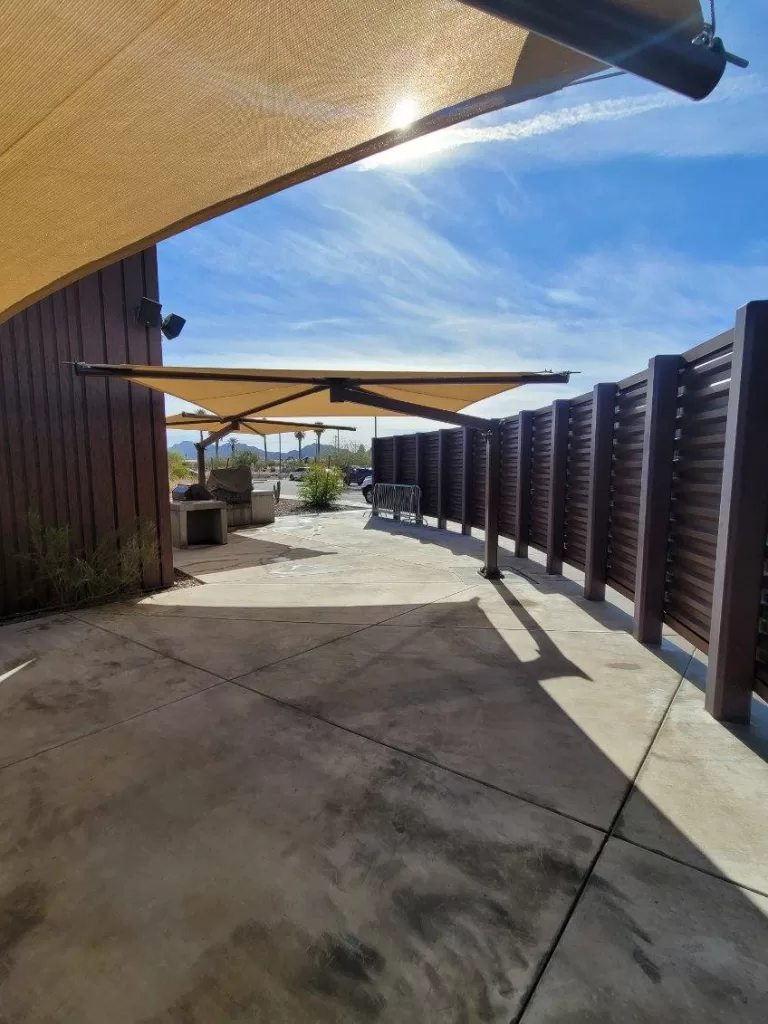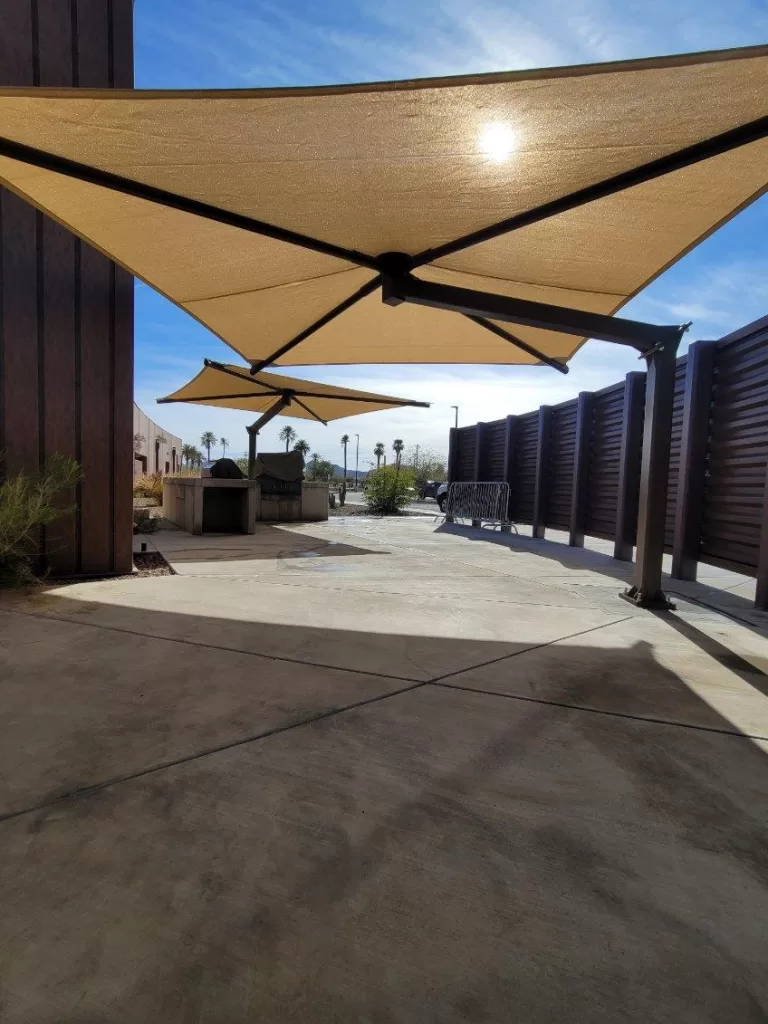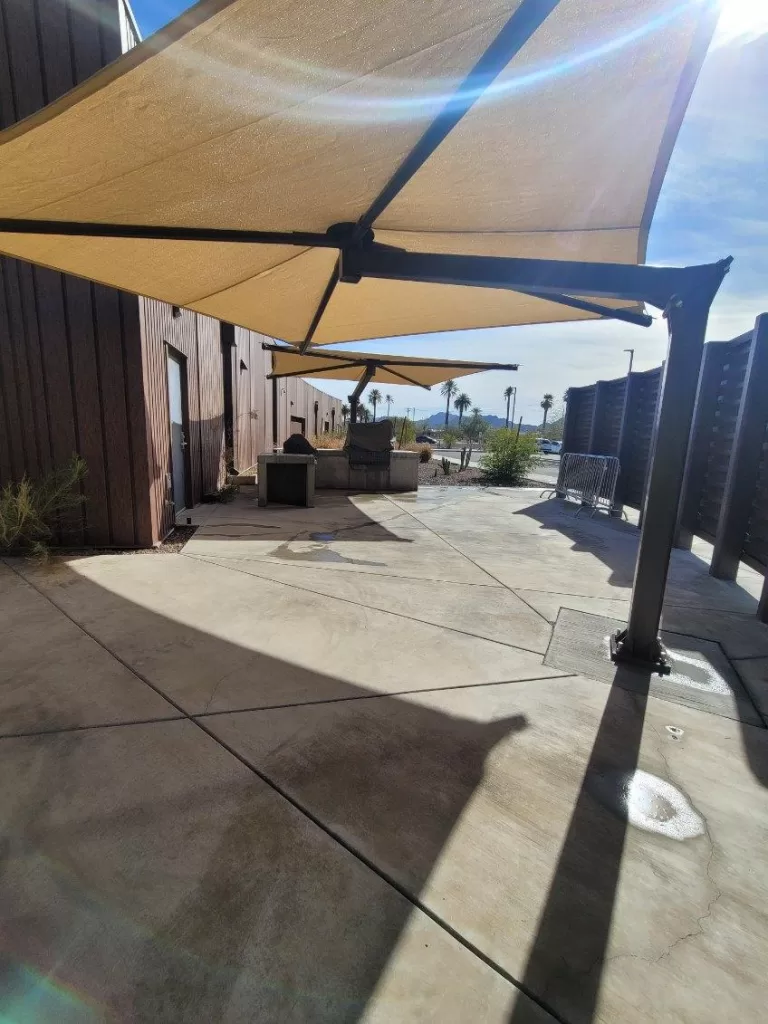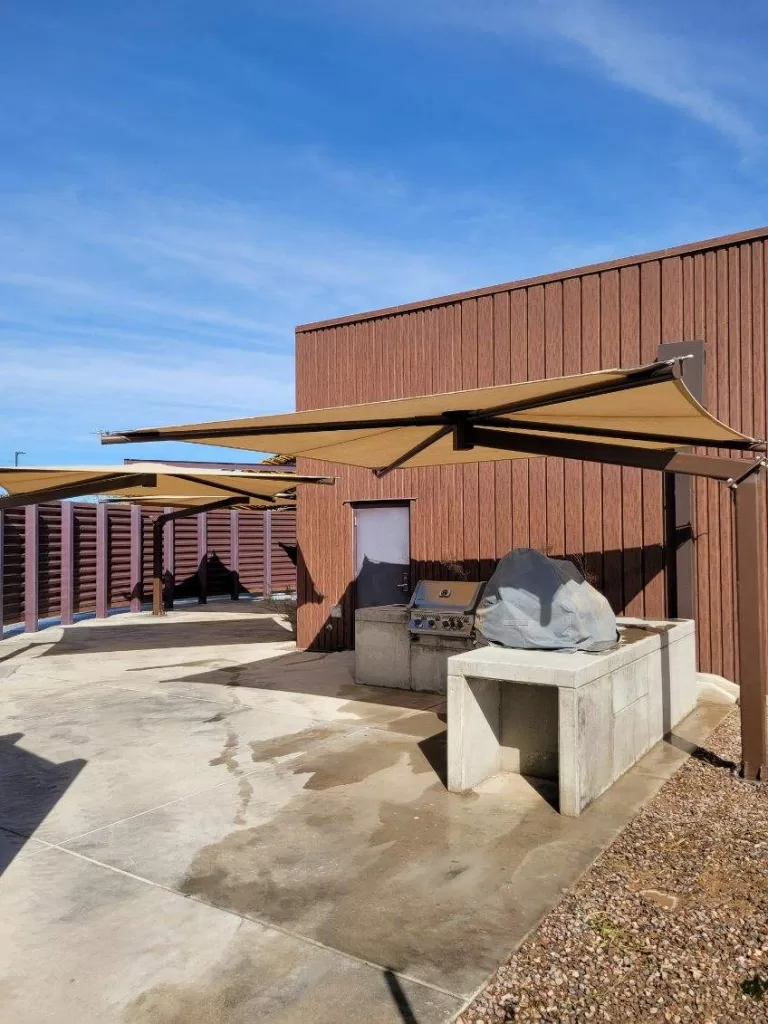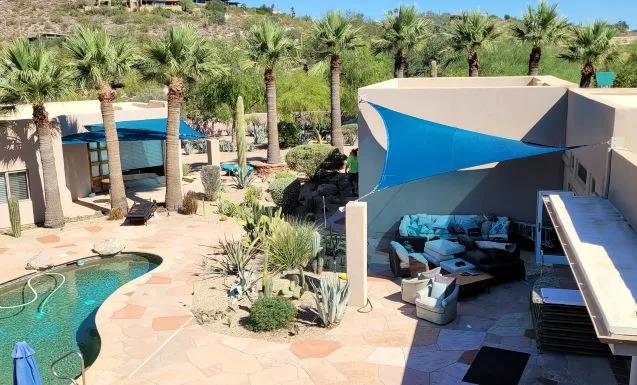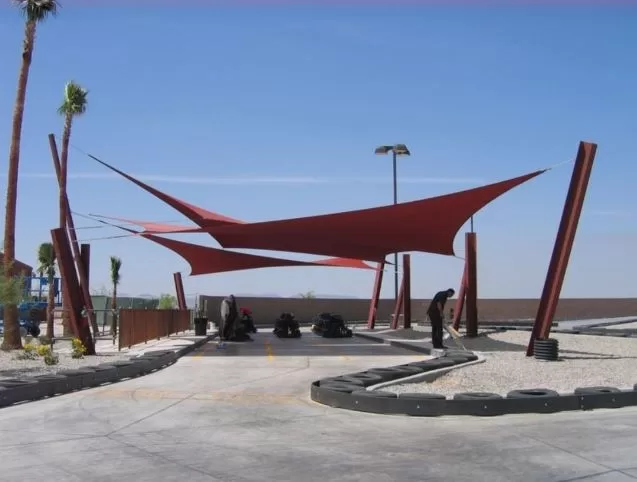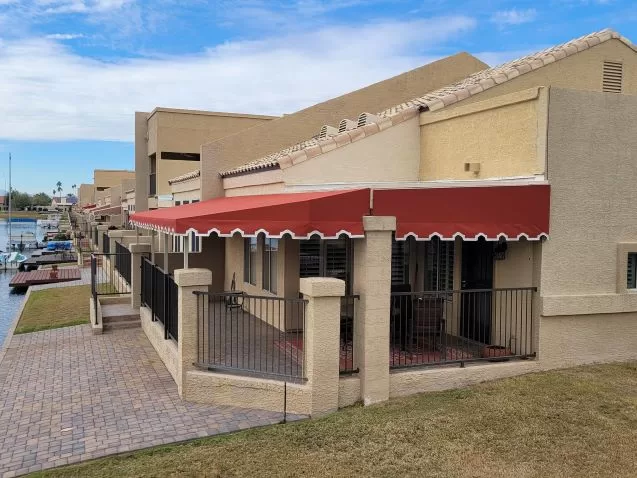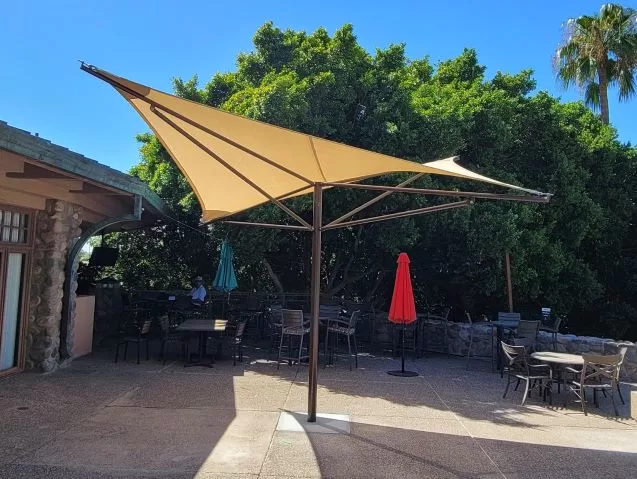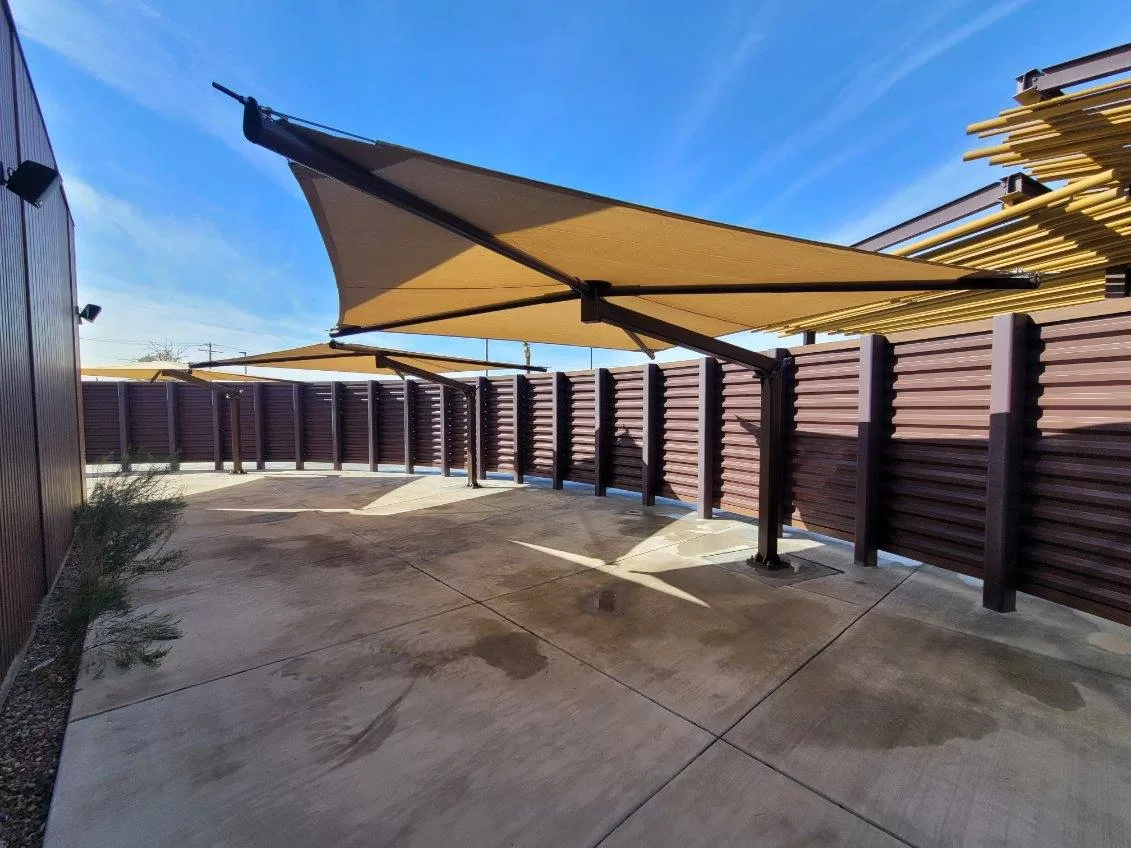
Last year, the Gila River Indian Community and a long-standing customer approached us regarding a project where they required our assistance. They required an area approximately 75′ x 15′ to be shaded. This area had a BBQ and a large concrete countertop for residential use. The area had a large 8’ wall that wrapped around to provide privacy and protection. We recommended multiple permeant umbrellas, and it was an instant attraction.
We had a few constraints for the shade design: We couldn’t install a footing close to the building, we couldn’t come off the building due to its structure and the area had bad access.
Permeant umbrellas are the perfect solution for this project. Our Umbrellas contain 1 column to help keep this project as minimalistic as possible.
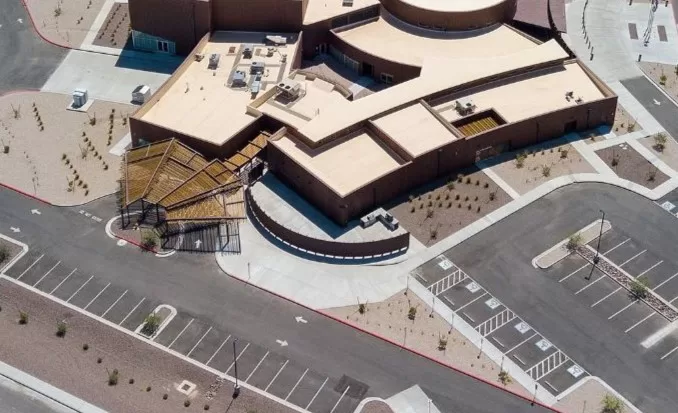
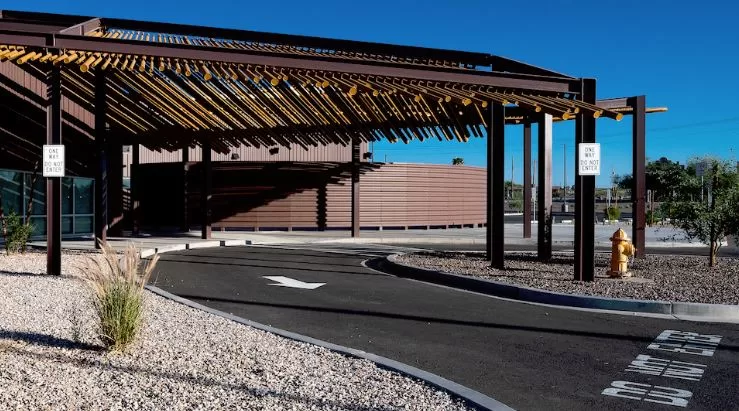
After our site visit and consultation, we knew our cantilevered permanent umbrellas were the shade for this project.
Our goal is to establish a few design ideas for permanent umbrellas to give the best shade outcome therefore ensuring minimalistic demolition and concrete saw cutting to save cost.
Permanent Umbrella Design Process
Ultimately, we chose 14’ x 14 cantilevered permanent umbrellas to keep the umbrellas from contacting the building or each other.
On our first design layout, we tried to contour the wall that wrapped the perimeter of the area with 4 of our cantilevered umbrellas.
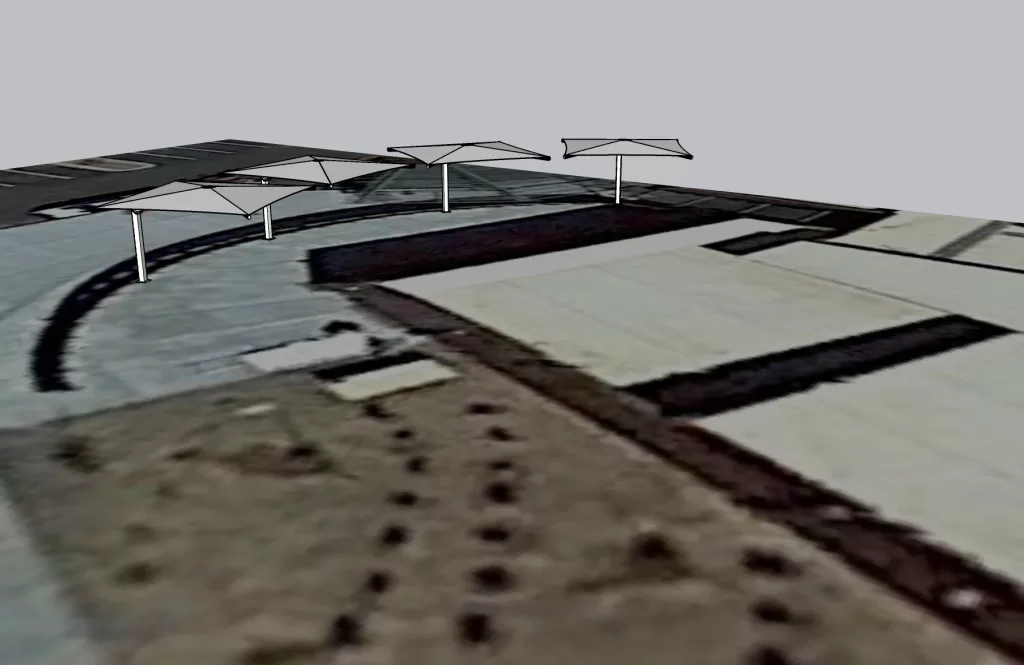
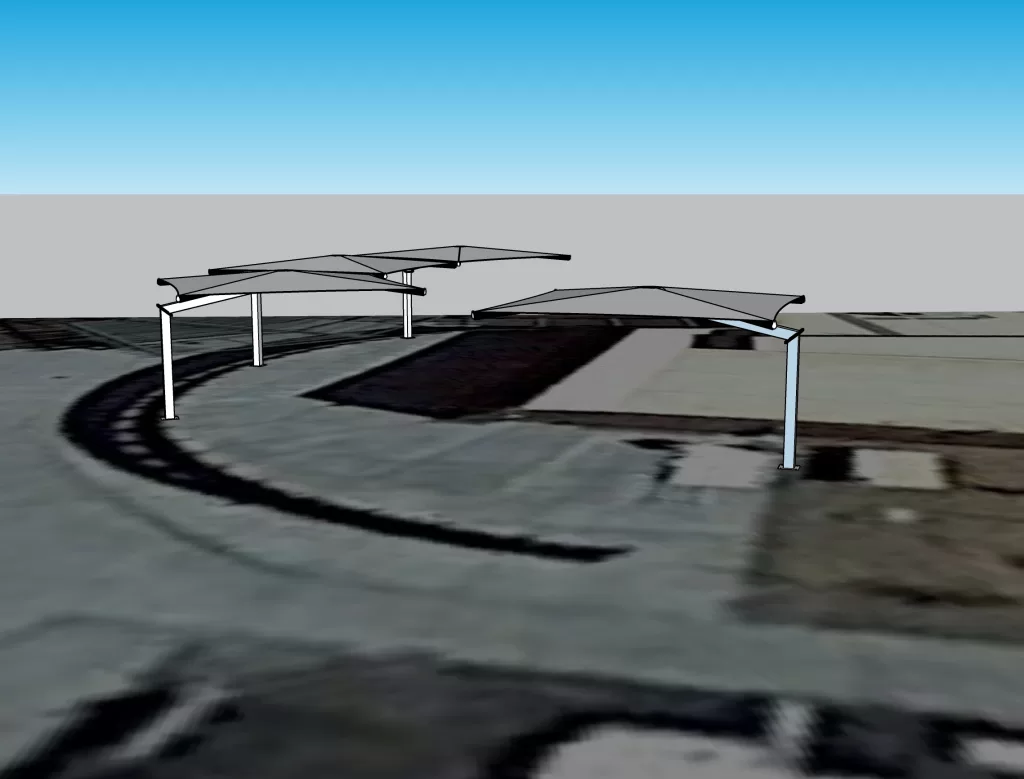
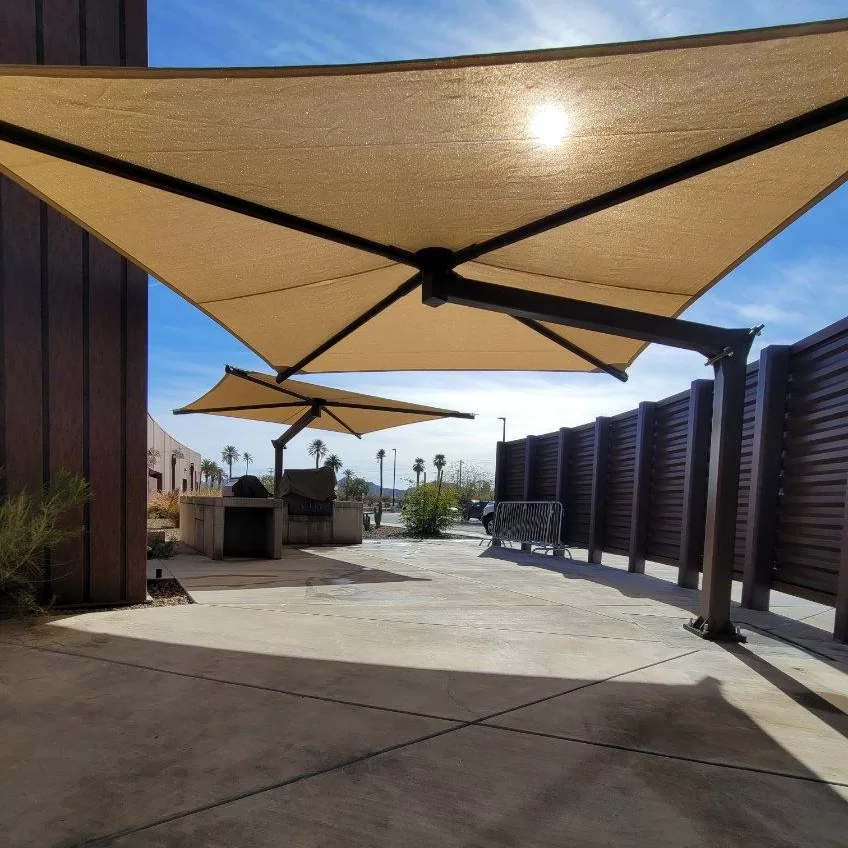
We quickly realized this wouldn’t work. We decided to contour the wall with 3 umbrellas and have the final umbrella over the BBQ and outdoor kitchen area.
The customer thought the layout was perfect and told us to get to work.
Project Problems and Solutions
We sent off our sketches and dimensions off to engineering. Our Engineer approved our design, and it was time to order steel and move on with the fabrication process.
We steamed ahead and scheduled to come and saw cut and dig the footings.
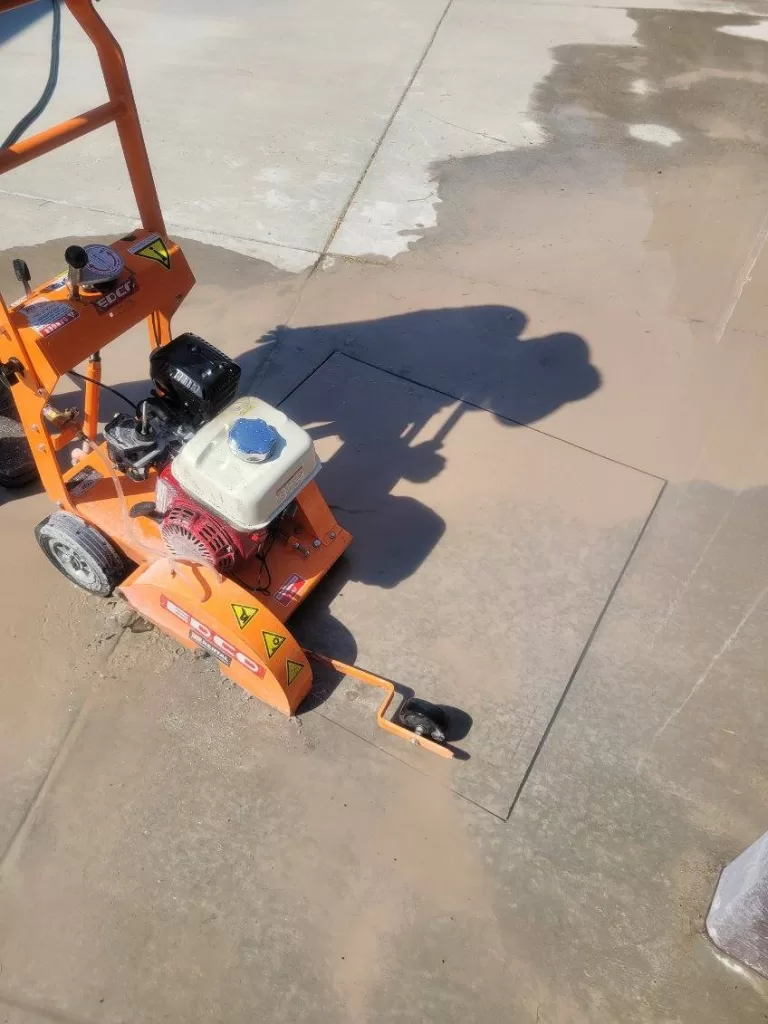
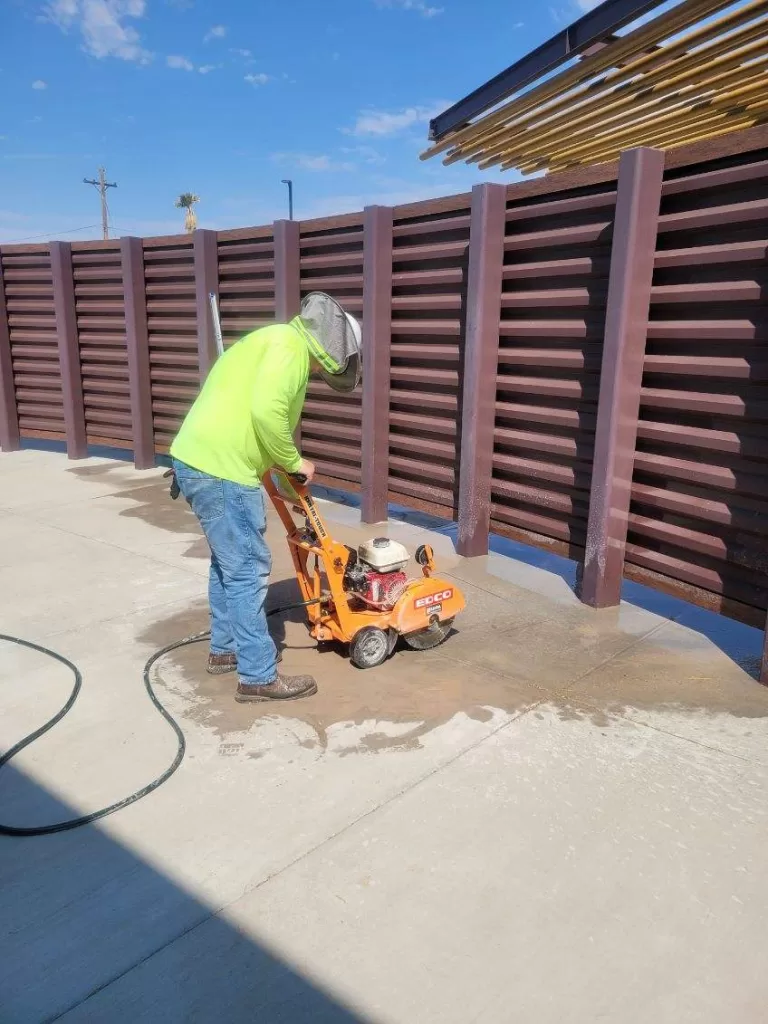
Once we marked our footings and dimensioned our layout, we then used a concrete saw to cut out 3 – 40” x 40” squares. Now it’s time to get digging, we put our shovels in the dirt to start clearing rocks for the auger and ‘BANG’.
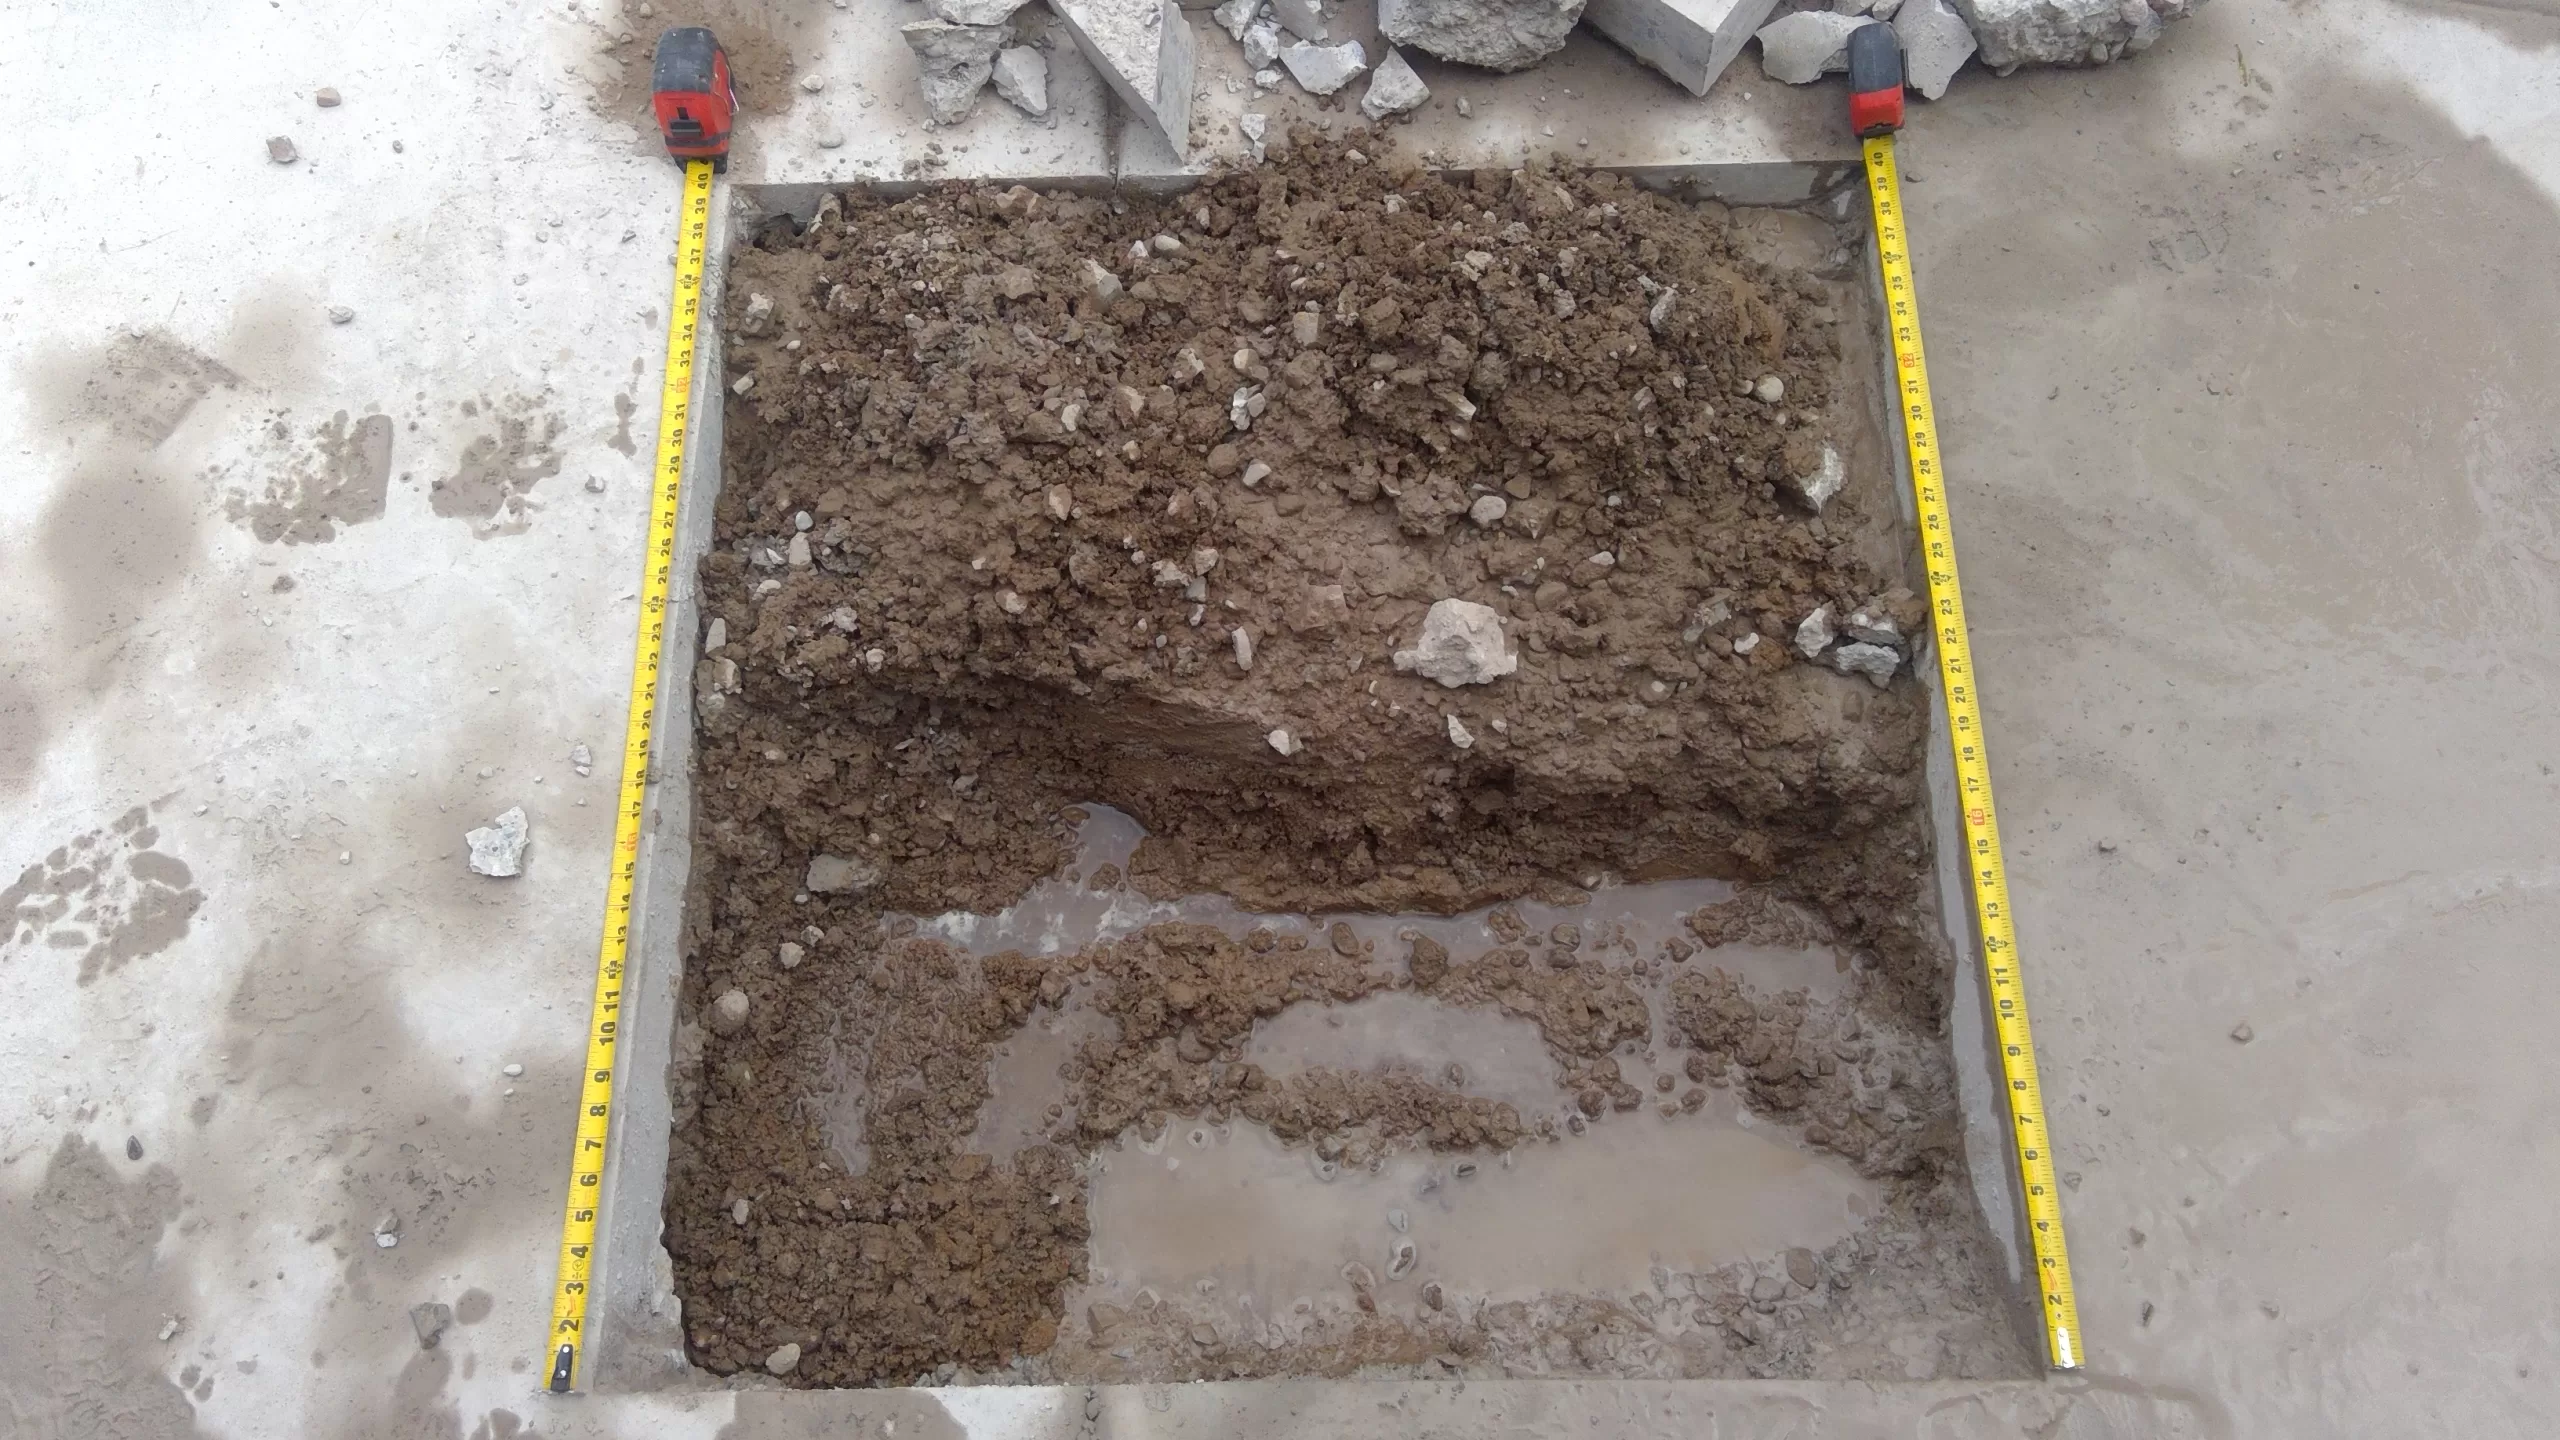
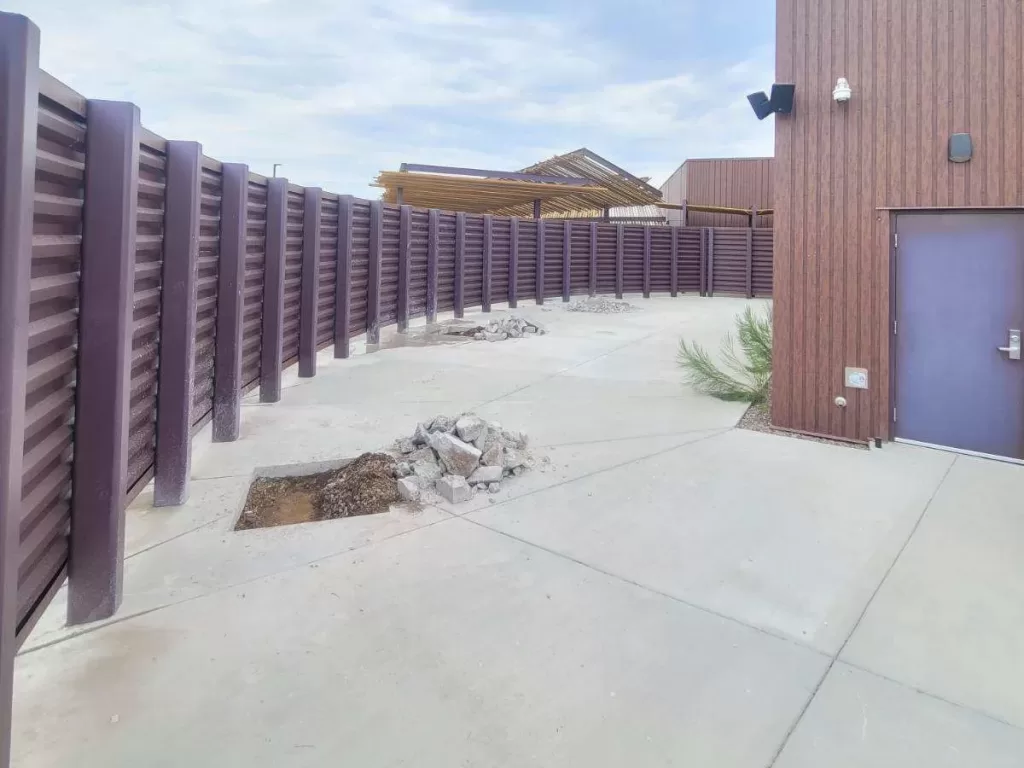
A footing that is at least 12” thick and runs halfway into our footing was waiting for us. We confirmed with the building engineer that the footing was not supposed to be there or that massive.
We juggled this issue around with the owner and the GC. The GC decided to obtain a quote from another subcontractor to bore saw the footing that is obstructing our progress.
Permanent Umbrellas Installation
Now that the footings that should not have been there are removed, we continued with our footing excavation process. We used a skid steer auger attachment and an extension to dig our 36” diameter 8’ deep footing holes. At the beginning of the project the GC agreed to deal with the spoils which helped us chug along.
Next step was to schedule concrete. The access for the concrete truck was not adequate therefore we had to schedule a line pump for this project.
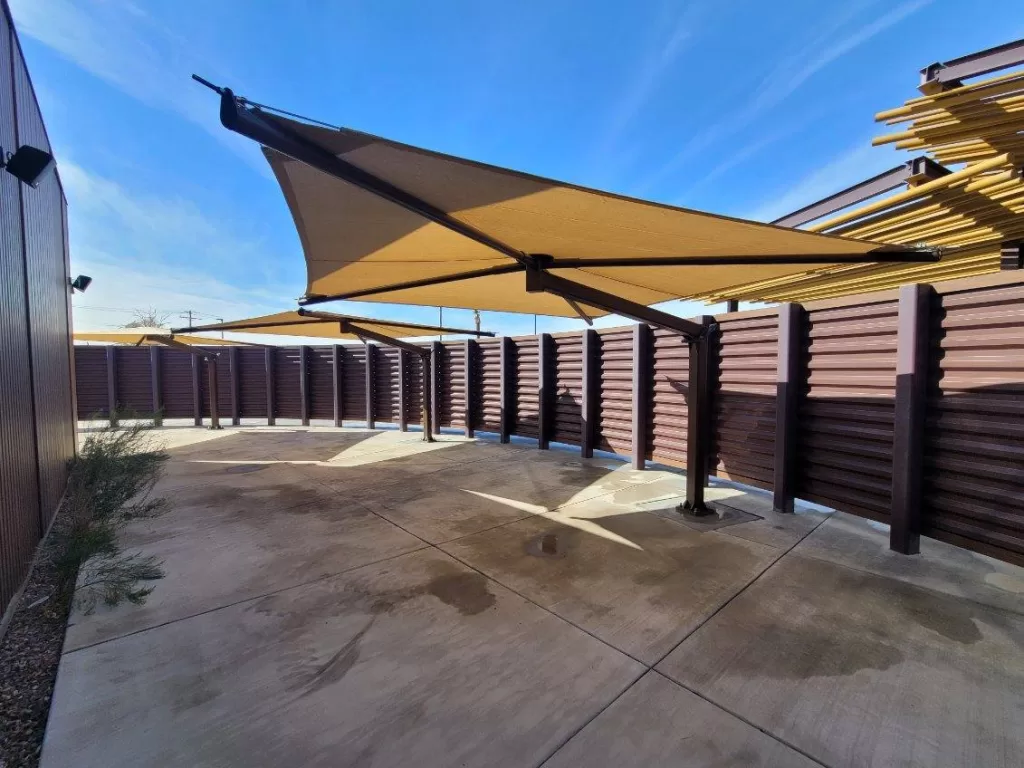
After pouring concrete, we set our anchor bolts and baseplate templates. This was a crucial step ensuring our baseplate templates lined up with our layout subsequently, this could cause our umbrellas our to make contact. Now it’s time to fabricate our fabric umbrella panels.
We were able to fabricate our cantilevered umbrellas frames during the duration it took the other subcontractors to bore saw the existing footing. Once the concrete was fully cured, we started installing the 14’ x 14’ cantilever umbrellas with their fabric panels.
After, we tensioned each fabric panel with an integrated cable perimeter. Our long-standing customer and the owner of the building were beyond impressed with the end results.
Leran more about our Permanent Umbrellas Today!
