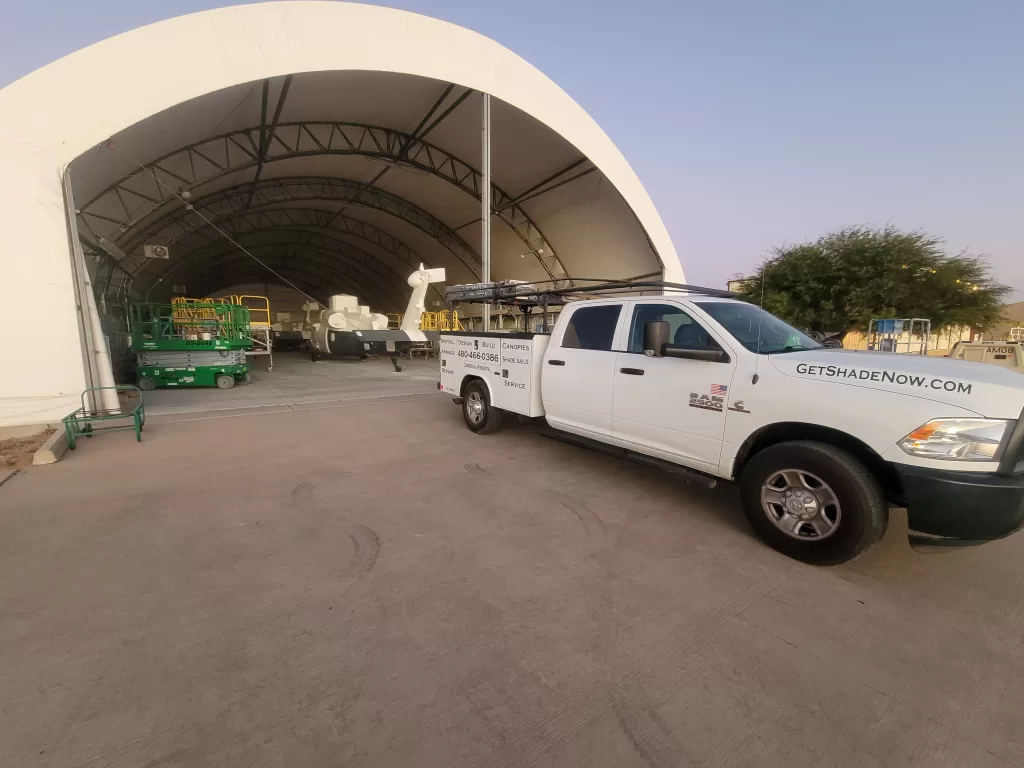
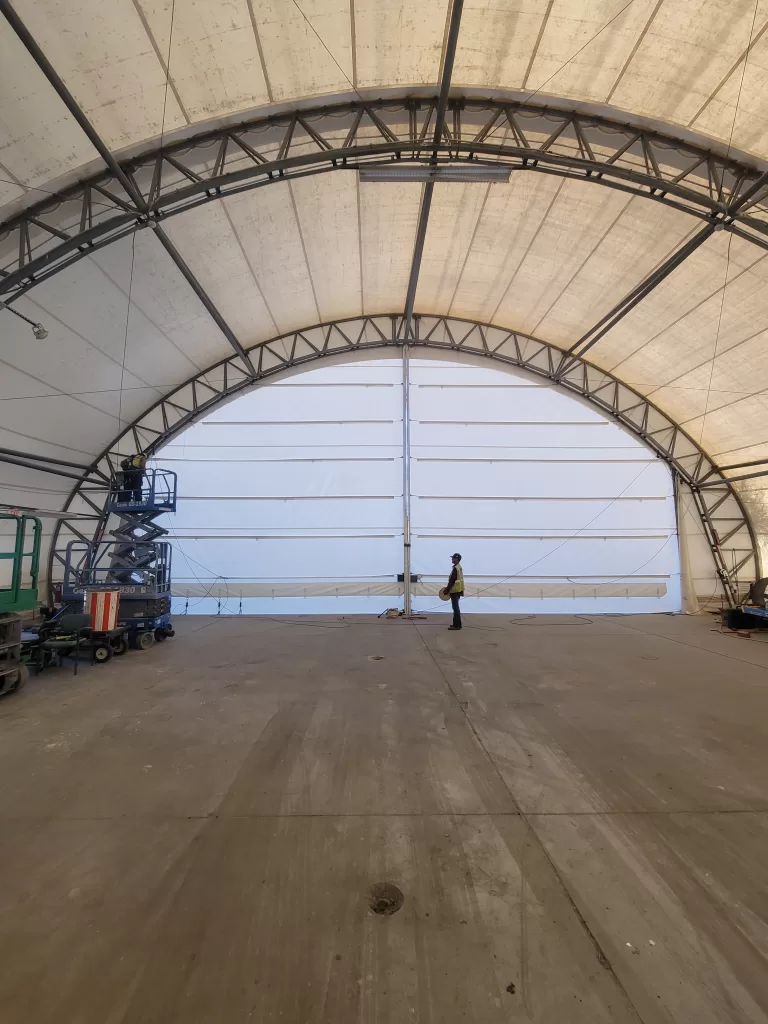
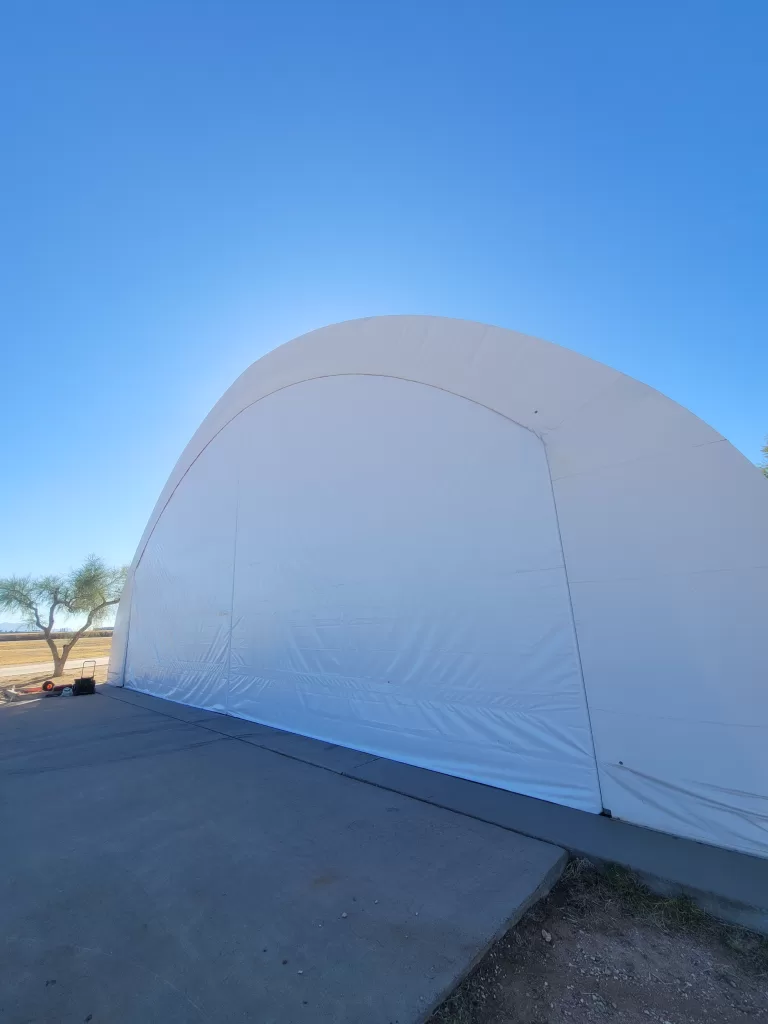
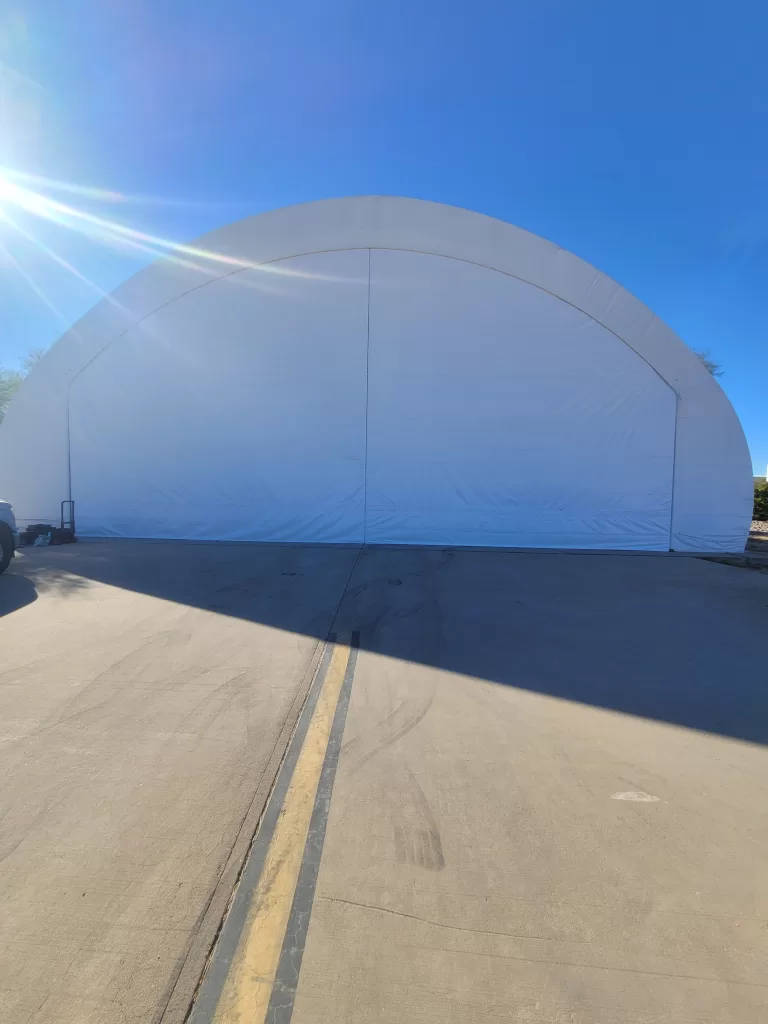
During the summer months of 2024, we were approached by a long-standing customer who knew we could complete any job, regardless of scale. The customer supervised the replacement of four operational 25′ x 25′ airplane fabric hangar doors on a 160′ x 65′ fabric airplane hangar.
Not only was he responsible for replacing the doors, but he also needed the doors to operate faster and smoother than before.
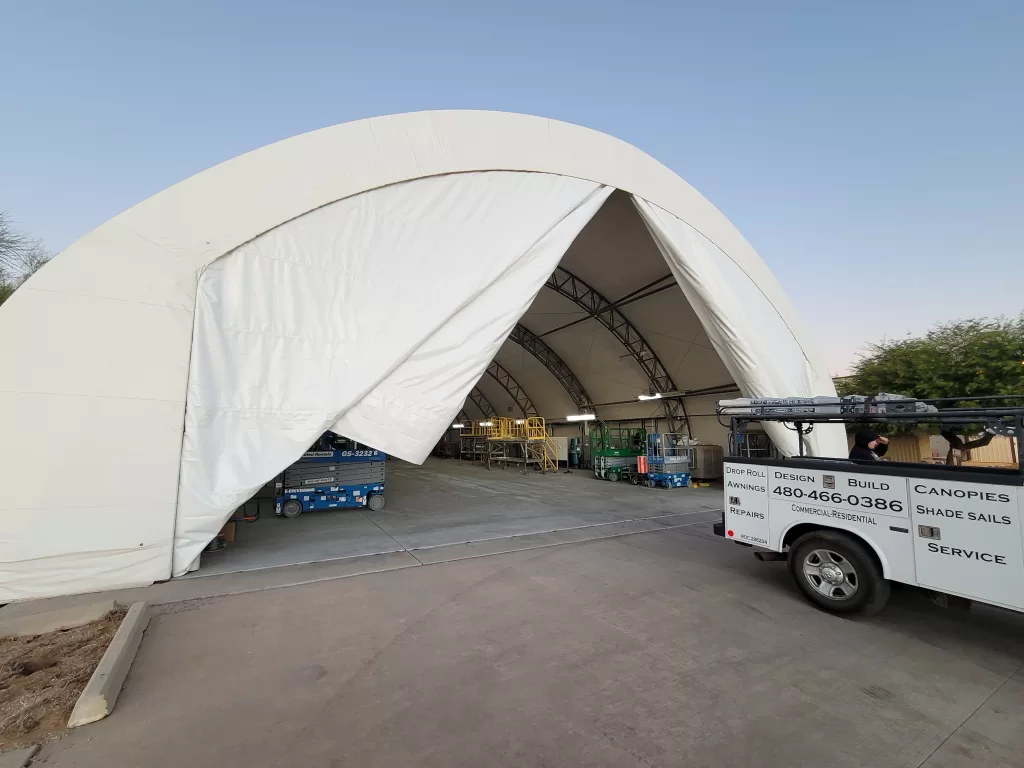
Each side of the hanger has 2 operational fabric doors. They open using 2 cable crank systems that pulled the door up by the middle to create almost a “wing” shape.
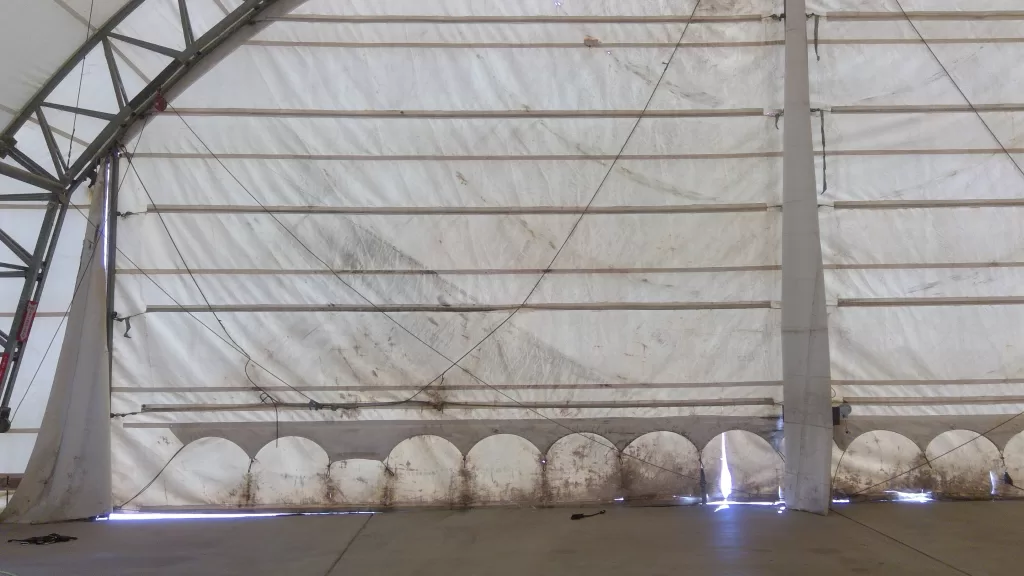
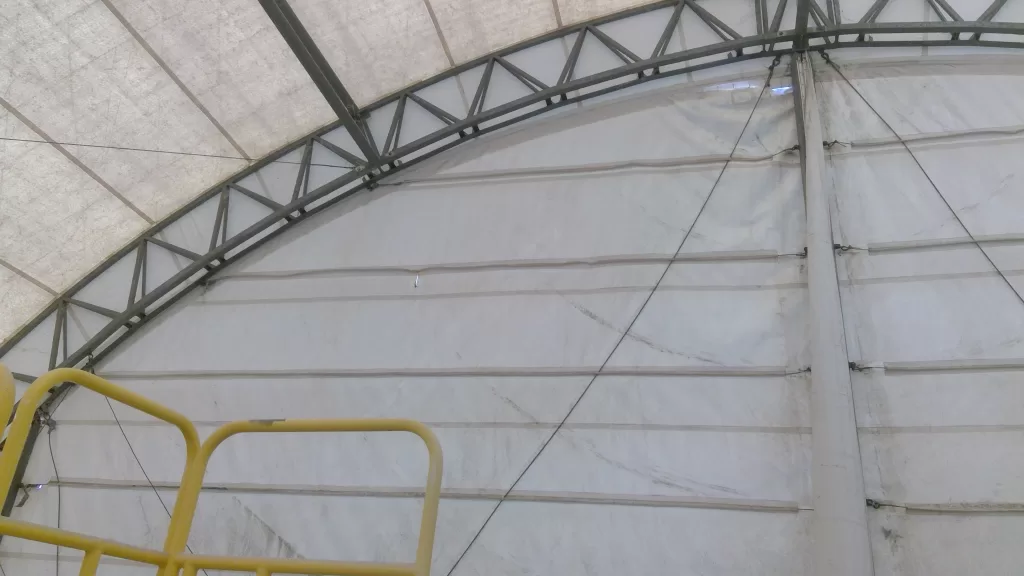
Each door has 7 pockets and a cable running through them. One cable swings down through all 7 cables and pockets, connected to a crank to open and close the doors.
Once confirmed that we were replacing the doors. We scheduled a site visit to extensively measure the doors and work out and kinks we thought might show up.
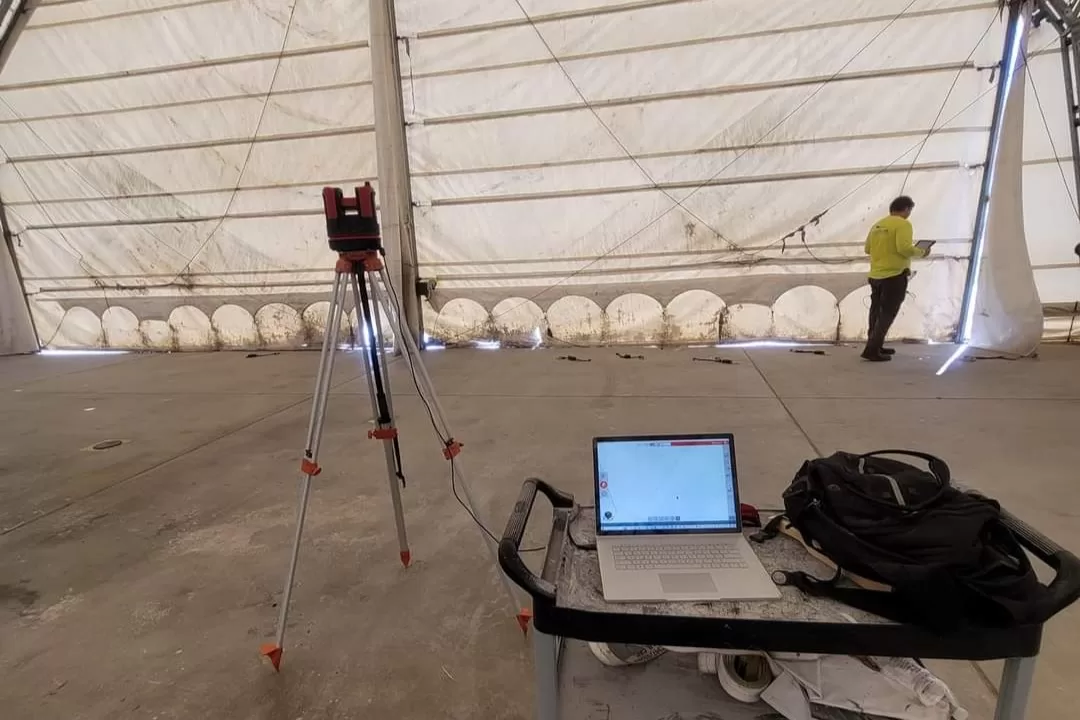
3D Coordinate Laser
We used our 3D coordinate laser to measure the doors to get the most accurate measurements for fabrication.
Our laser pinpoints exact measurements while taking a picture of what point is measured. Ensuring an accurate fabrication process.
We measured a few things by hand. Making Sure we make sure we have the perfect fit after fabrication.
Identify Issues and Solutions
At our site visit we found our biggest issue with the doors. How are we going to connect the new doors back to the structure? And how are we getting the old doors down?
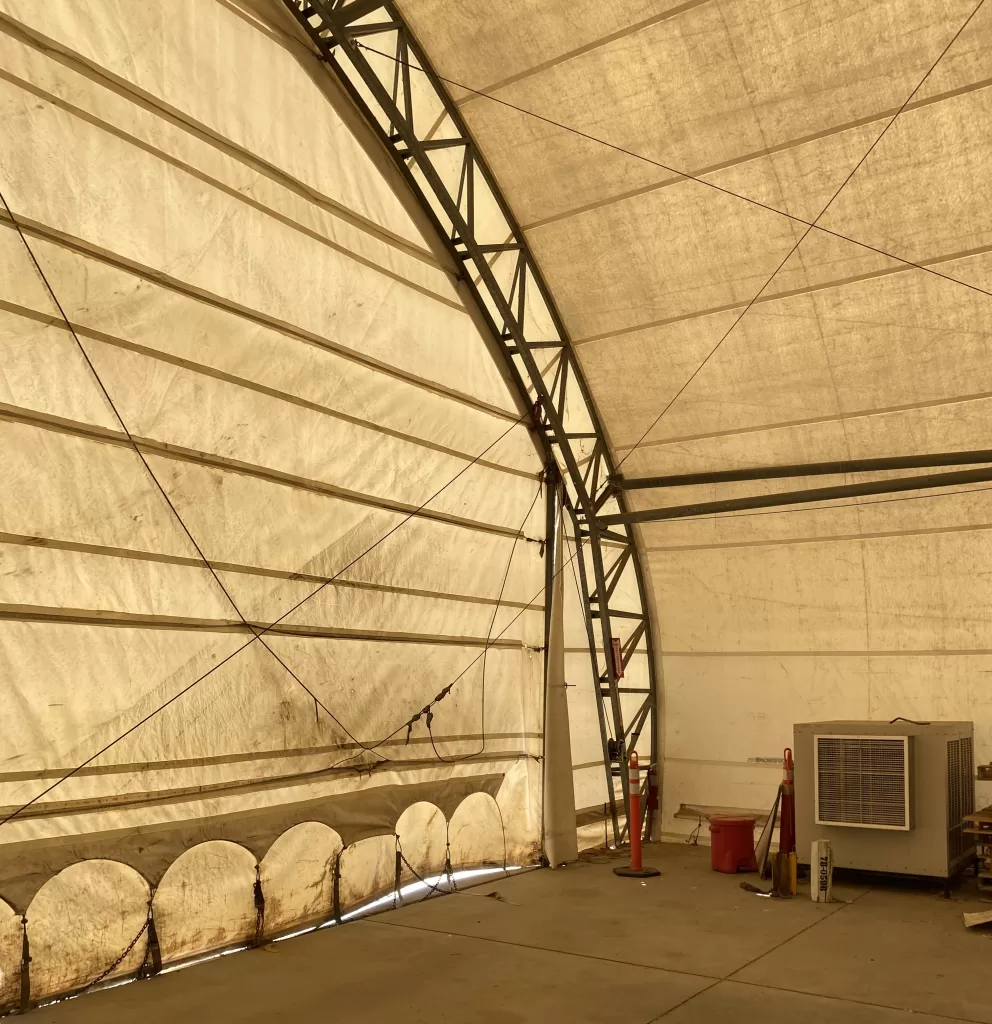
We can’t take down the entire structure to sew on new doors, that would blow the project out of the water.
We decided to cut the existing doors out. This created a backup template for the curve. We brainstormed on this idea for a few days until we ultimately decided to choose a simple but efficient design to attach the new doors to the existing structure.
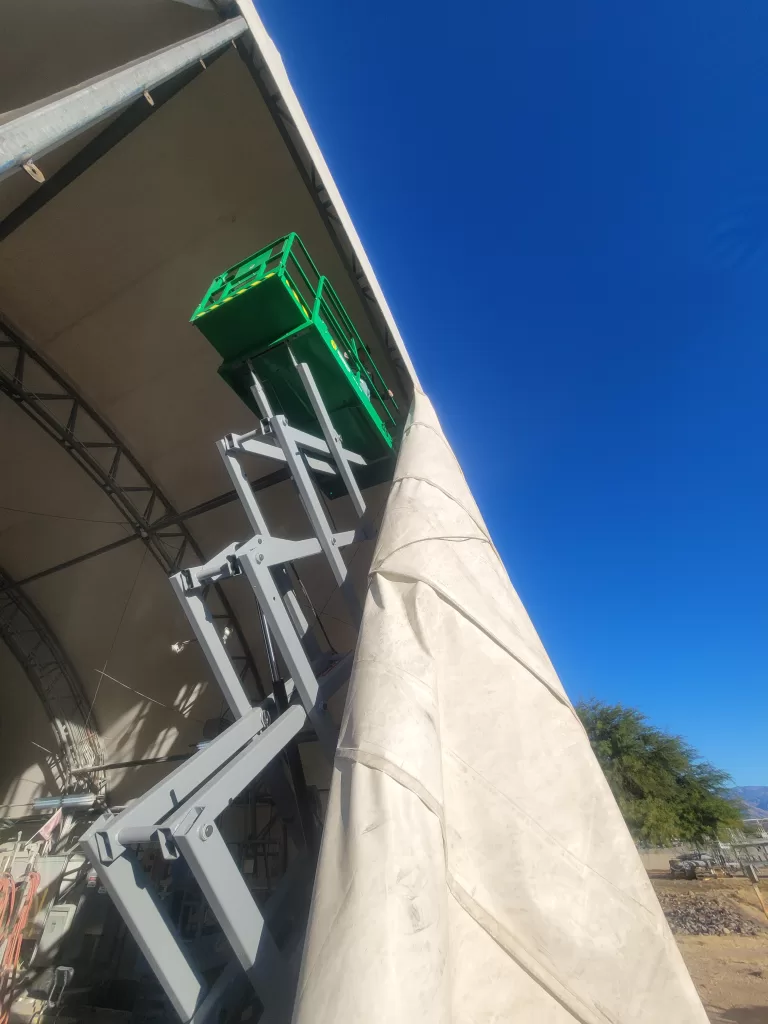
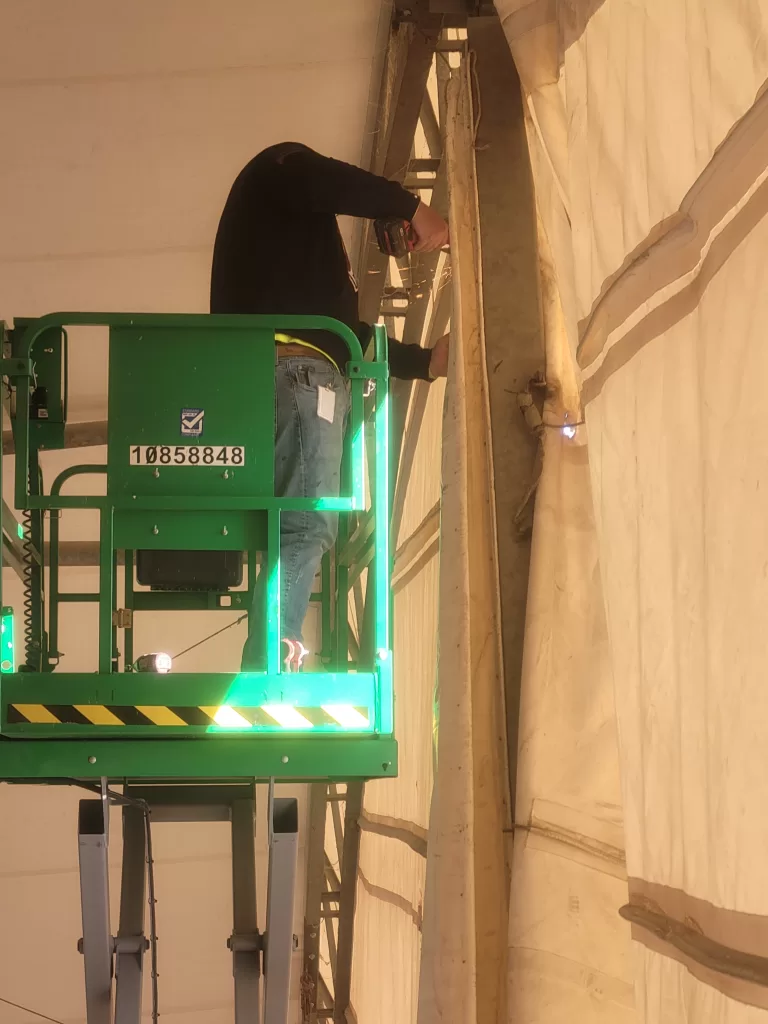
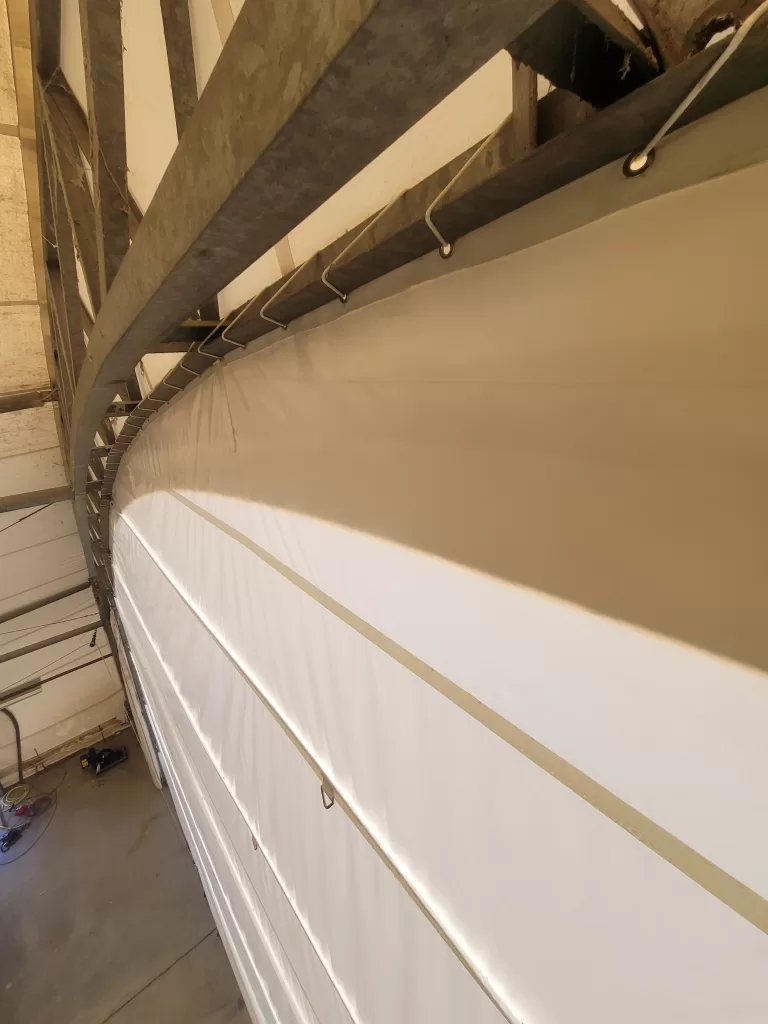
We installed heavy duty gromets every 8” and lace the new doors up to the structure. This design created an effective way to hoist the vinyl doors up to the structure. As well as securing the new doors to the structure with tension.
Fabrication of Airplane Hanger Fabric Doors
There was minimal sewing on this project, you might be wondering how that is possible. We welded all seems and cable pockets on the 4 hangar doors.
The only sewing on the doors were the d-ring connections for the cable, the ratchet d-rings and the top grommet pocket.
We welded this project which enabled us to permanently attach each piece of fabric without perforating the membrane. Due to the absence of sewing and perforations on the the door’s membrane, this created an elegant and enclosed space when the doors were closed.
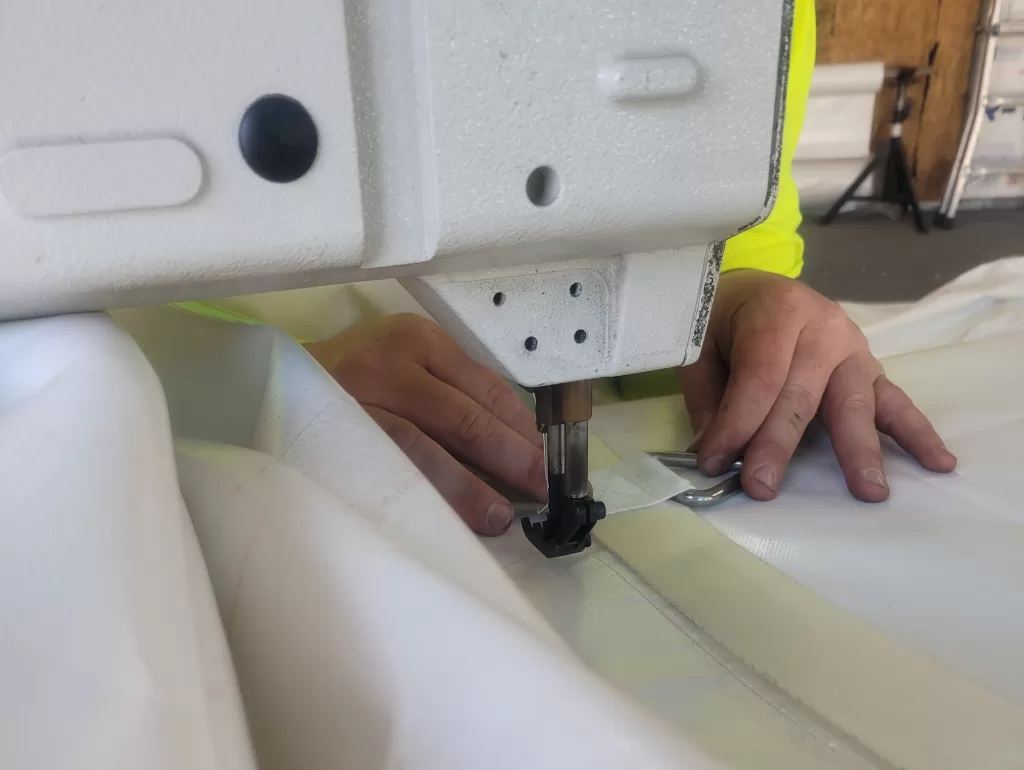
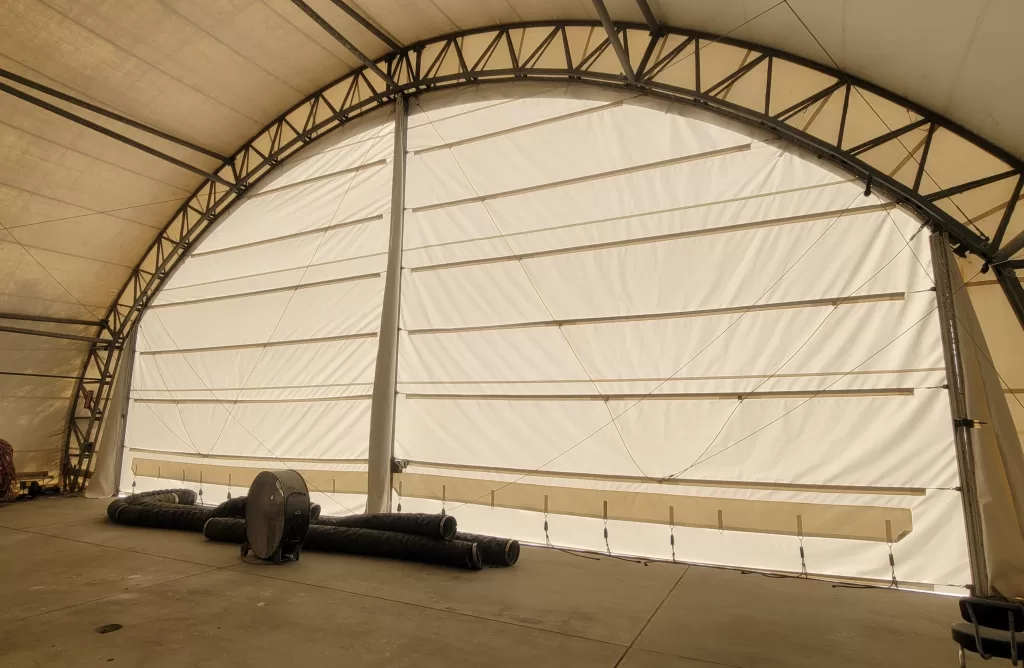
Each door had to have a bottom cape with 8 reinforced d-rings connection to enable the staff to ratchet the doors down when they are not operational. To fully enclose the structure, each door has a vinyl vestibule to wrap the vertical columns.
Installation Airplane Hanger Fabric Doors
The fabrication of the 4-fabric doors was the easier process of this project. Unexpected wind gusts and trying to control a 25’ x 25’ fabric door blowing in the wind installing the doors quickly became a chore.
In the end we chugged ahead connected each door with 4 points of contact. We then tensioned the door in place. Now the door is tensioned, we fastened each vertical end of the doors with flat stock aluminum to the vertical columns that held the original doors.
We cut and installed all new pocket cables while replacing each 3/8″ shackle the pocket cables are connected to. Then we cut and installed the 2-sling cables that connects to the winches to bring the pocket cable up. We installed all supporting cable and lifting cable and our job was complete. Our customer was amazed by the final outcome.
Learn more about our Commercial Shade Structures Today!
